2. Running Simulations
2.1. The workflow
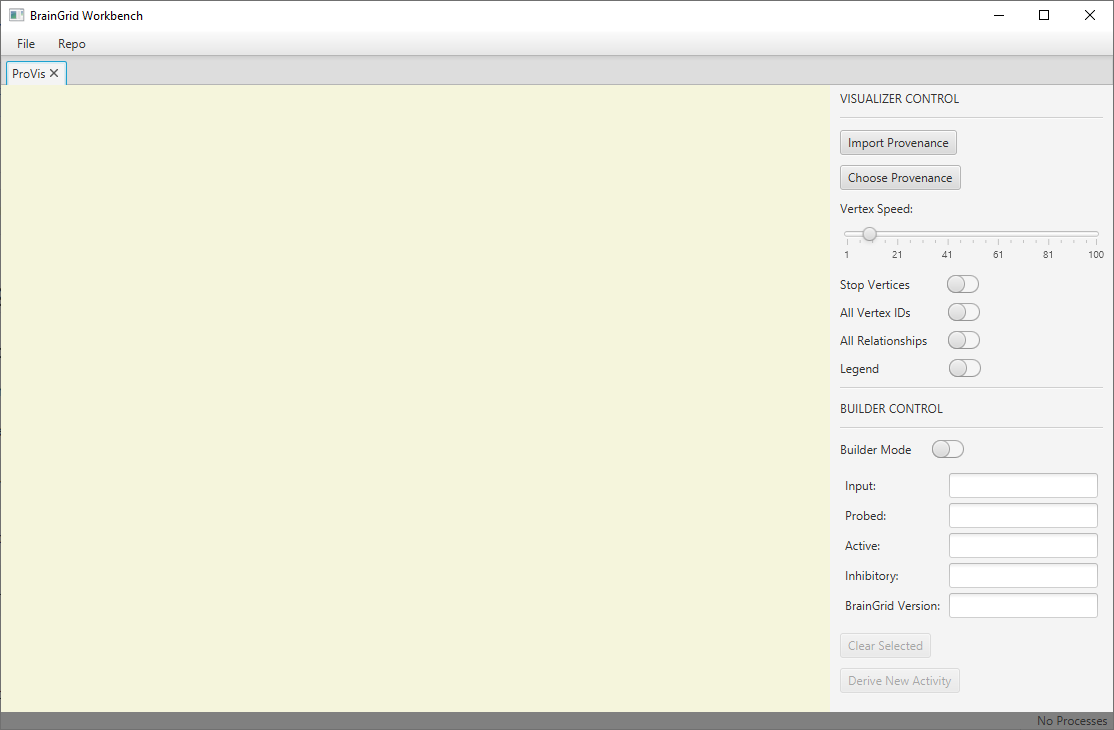
- If the Workbench is started successfully, a new window as shown in the below screen dump will be displayed.
-
Create a new simulation project. Choose File - > New - > Simulation Starter.
-
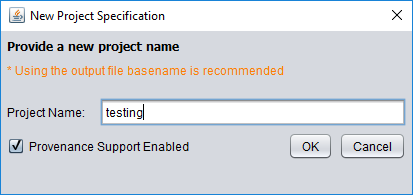
Enter the project name and press the “OK” button.
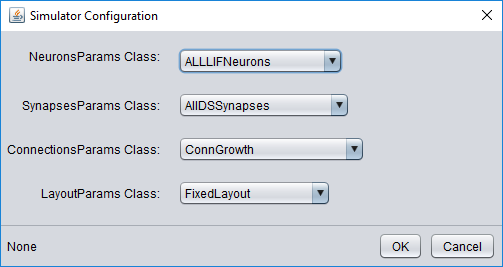
- A new window to setup the parameters classes is displayed. After choosing the parameters classes, press the “OK” button.
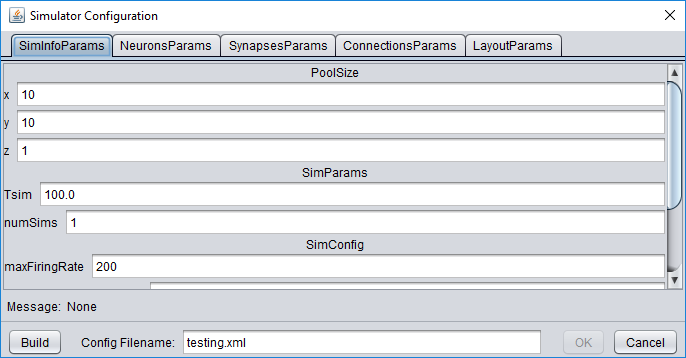
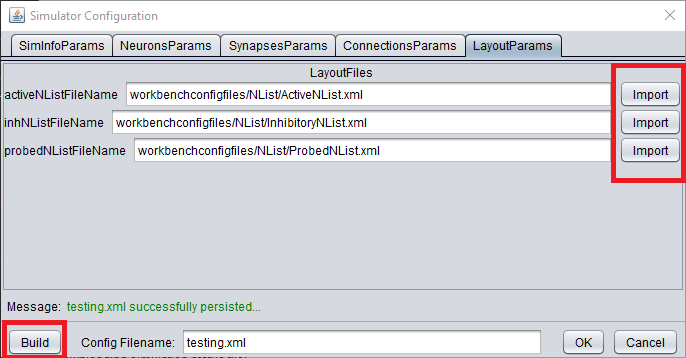
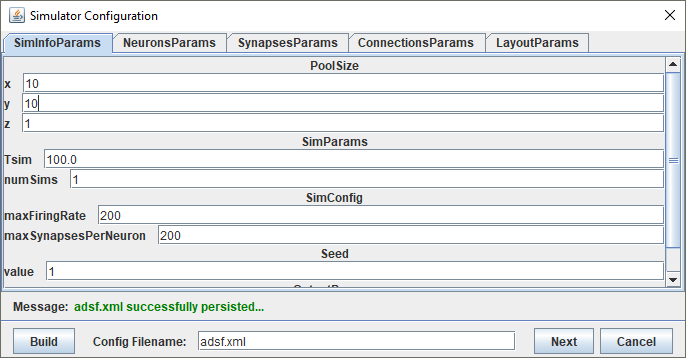
- Depending on the parameters classes selected, the corresponding parameters are displayed with their default values for user to set. Use the “Import” button in the “LayoutParams” tab to import layout files, if necessary. After setting all the parameter values, press the “Build” button to generate the config file for the simulation.
- If the config file is generated successfully, press the “Next” button to close the window.
- Setup the parameters for script generation. The “SHA1 Checkout Key” is the commit number. If it is blank, it will checkout the latest version. Make sure to specify the Simulation Folder Location. If you are using a particular commit of BrainGrid, it is recommended to specify a unique Simulation Folder Location that has not been used by a previous BrainGrid build to ensure the provenance graph layout does not have overlapping Agent nodes. This will occur if you use multiple different BrainGrid versions in the same Simulation Folder. Also ensure that you have “Pull” and “Build” selected if using a particular commit.
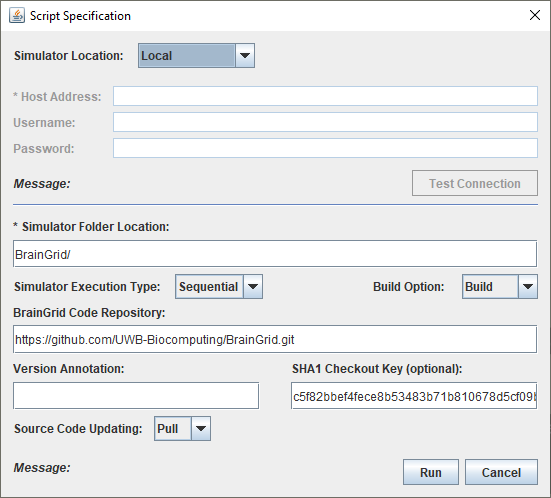
- Click the “Run” button to run the script. If the simulator location is a remote location, it transfers the configuration, neuron list and the script files to the remote machine before running the script on the remote machine.
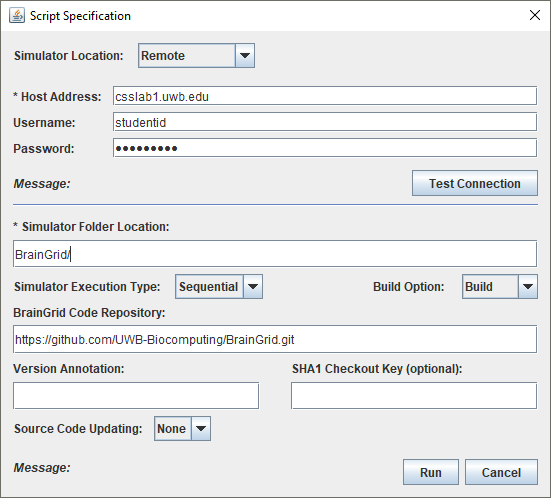
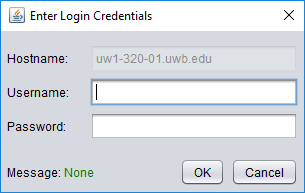
- Before sending files to remote machine, enter the username and password to establish connection to the remote machine.
- The Simulation Runtime Window is displayed. The simulation will need time to run on the local or remote machine before completing. Give the simulation the necessary time to complete execution.
- Press the “Analyze” button to download simulation results after the completion of the simulation.
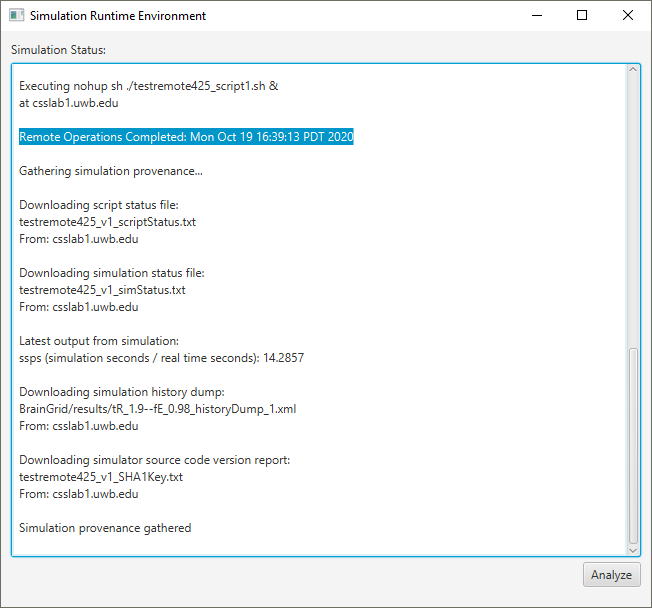
- The execution time of the simulation depends on various factors, such as the configuration file, and the available resources on the remote machine. If the simulation hass not completed or an unexpected error occurs during execution, a message will be displayed to indicate that the download of execution result failed. The user then needs to investigate the root cause on the remote machine.
2.2. About the generated script files
The generated script files do the following steps.
- Creates a directory at the given “Simulation Folder Location,” if it does not already exist, and navigates to that directory
- If “Pull” is selected:
- 2.1. Clones the BrainGrid repository
- 2.2. Uses the most recent commit of BrainGridCheckout OR the revision specified in the SHA1 field of the script configuration dialog.
- If “Build” is selected:
- 3.1 Executes “make -clean” to remove any existing binary files from the repository directory.
- 3.2 Executes “make” to build the BrainGrid simulator.
- Runs the simulation by calling the simulator with the corresponding parameters.