1. Getting Started
1.1. Clone the repository from GitHub
-
Make sure “Git” is installed in your operating system. Check https://git-scm.com/ for more information about Git.
- Clone the repository to a local folder by typing the following command.
git clone https://github.com/UWB-Biocomputing/WorkBench.git [folder_name] - If you would like to checkout a specific branch or commit, use the following command.
git checkout [branch_name/commit_id]
1.2. Compile and build
You can compile and build WorkBench using Maven in a command prompt or using NetBeans.
1.2.1. Maven
- Make sure Maven is installed by checking Maven version using the following command.
mvn -v - If Maven is installed, the output will be like the screen dump below. Note that Maven is using Java 8, here shown as Java version: 1.8.0_111

- Type the following Maven command under the directory “Tools/Workbench/WorkbenchProject” to compile and create executable JAR file.
mvn install - After the project is built successfully, a JAR file “BrainGridWorkbench-1.0-SNAPSHOT.jar “ will be created under the directory “Tools/Workbench/WorkbenchProject/target”. Run this JAR file to start using the Workbench. From the target folder, type the following command
java -jar BrainGridWorkbench-1.0-SNAPSHOT.jar
1.2.2. NetBeans
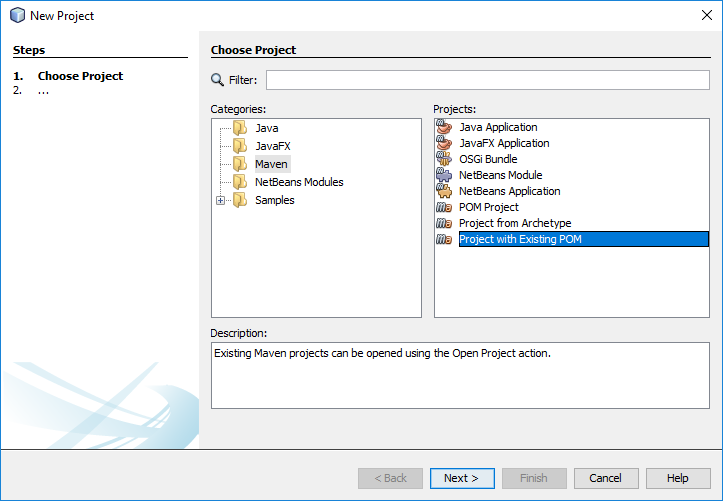
- Create a New Project in NetBeans. Then, select “Maven” under project categories and choose the option “Project with existing POM”. And, press “Next”.

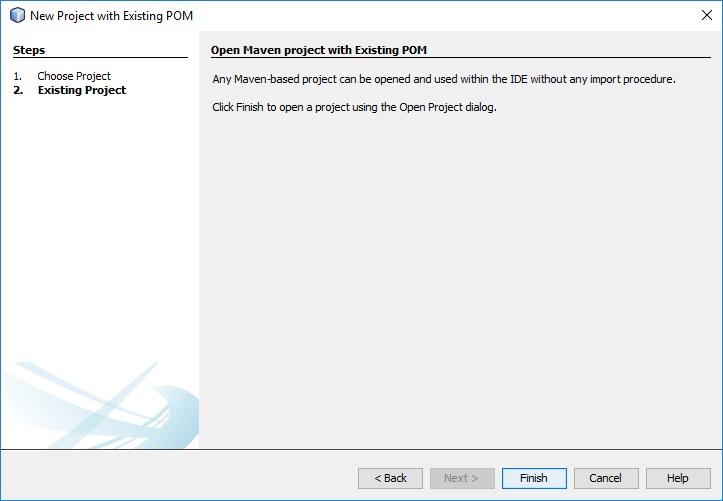
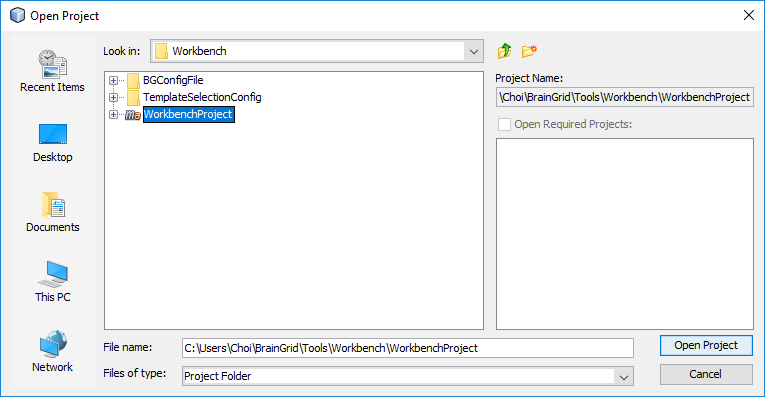
- After pressing the “Finish” button, choose “Tools/Workbench/WorkbenchProject”, then press the “Open Project” button.


-
After the project is opened, you can compile and build it by pressing the “Clean and Build Project” Menu option in NetBeans.
-
After the project is built successfully, it will generate a JAR file “ BrainGridWorkbench-1.0-SNAPSHOT.jar “ under the directory “Tools/Workbench/WorkbenchProject/target”. Navigate to this directory and run this JAR file to start using the Workbench.
java -jar BrainGridWorkbench-1.0-SNAPSHOT.jar